Connect Obsidian on Your Phone to Your OpenClaw or Hermes Agent
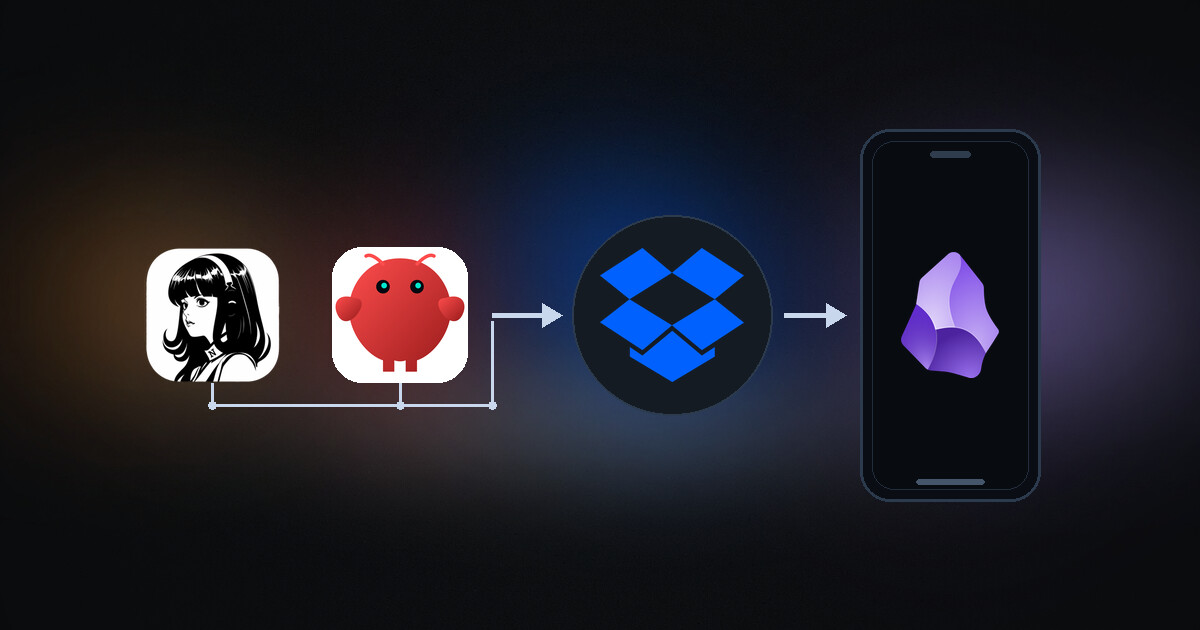
Your agent runs on a machine you don't sit at, and Obsidian only opens vaults that exist on the device it's installed on. This is the bridge I use: Remotely Save, a free Dropbox app, and the normal Dropbox client on both ends — about ten minutes, and the vault your phone writes in is the same one your agent reads.
I run OpenClaw on a secondhand rig that stays on in the corner. I talk to it from my phone, over Telegram, and almost never sit down at the machine itself. For a while, every note it wrote came back through the chat window: it pasted the contents, I saved them somewhere, asked for a change, and got version two pasted back.
Obsidian fixed the reading end of that. It’s a Markdown editor, and a vault is just a folder of Markdown files. But Obsidian only opens vaults that live on the device it’s installed on, and the notes need to live where the agent runs. So the setup is a sync layer in the middle: the phone syncs the vault out, the rig syncs it down, and both sides edit real files.
That’s what this is — a setup guide, seven steps, roughly ten minutes. It works the same whether you run OpenClaw or Hermes, and it assumes you already talk to your agent from somewhere other than the machine it runs on.
What you’re working with
Obsidian is a program for writing and reading notes stored as Markdown — plain text, readable in any editor, diffable in git. It’s built to be rearranged: folders, tags, links, plugins.
A vault is one folder containing:
.mdfiles, one per note[[wikilinks]]for linking notes by name![[embeds]]for pulling one note into another- YAML frontmatter at the top of a note for properties
- a hidden
.obsidian/folder with your settings and plugins
Nothing in there is proprietary. That’s the whole reason this works: the agent doesn’t need an Obsidian plugin or an API, it just needs read and write on a folder of text files.
The stack
- Remotely Save — a free community plugin that syncs your vault to storage you already own. Dropbox here; OneDrive, S3, and WebDAV also work.
- A Dropbox app folder — created in the Dropbox App Console, and where the plugin writes.
- The normal Dropbox desktop client — on whatever machine runs your agent. That’s the half most guides skip.
Remotely Save is not Obsidian Sync: one is a free community plugin writing to storage you own, the other is the paid first-party service that keeps the vault to itself. I use the plugin because owning the folder is what lets the agent’s machine have the same files.
This is one piece of the setup; seven emails cover the rest.
Step 1 — Install Obsidian and make a vault
Install it from the App Store or Play Store, then create a new vault and name it. Mine is JDAK Vault because I run it on the JDAK framework; the name is yours.
Create two short notes before you go further. An empty vault can’t prove anything is syncing, and one file can’t show you that edits travel both ways.
Step 2 — Turn on community plugins
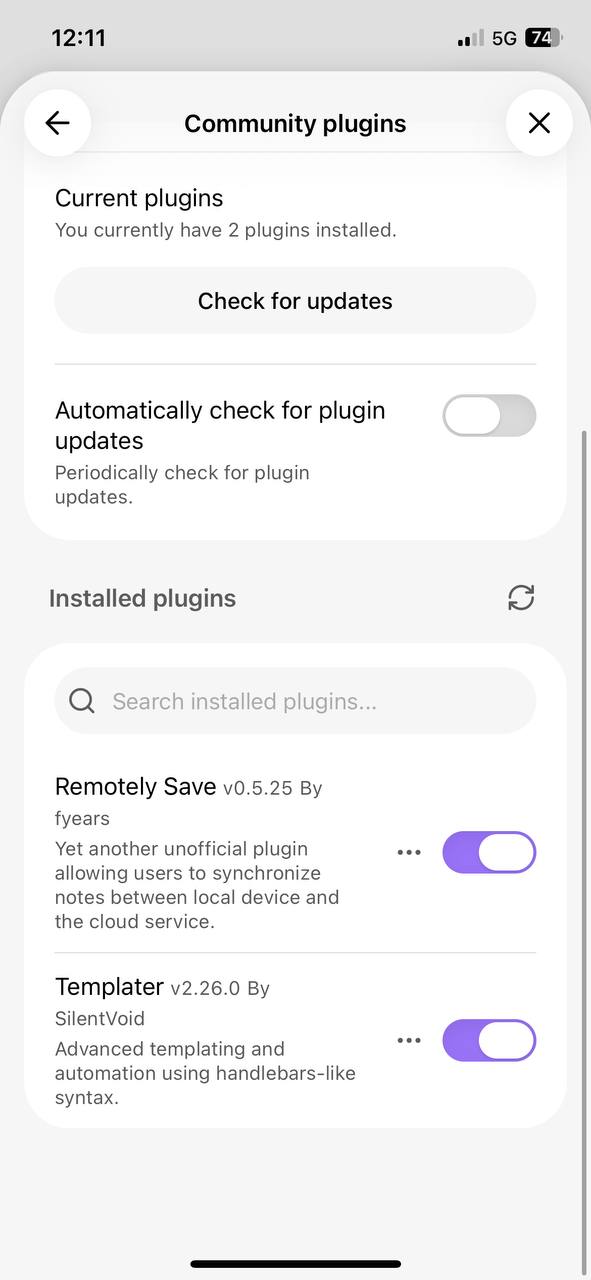
Community plugins are off by default. Go to Settings → Community plugins, turn off restricted mode, and install two:
- Remotely Save — the sync engine.
- Templater — not needed for this guide, but it’s better than core templates. You’re already in the browser.
Step 3 — Create the Dropbox app
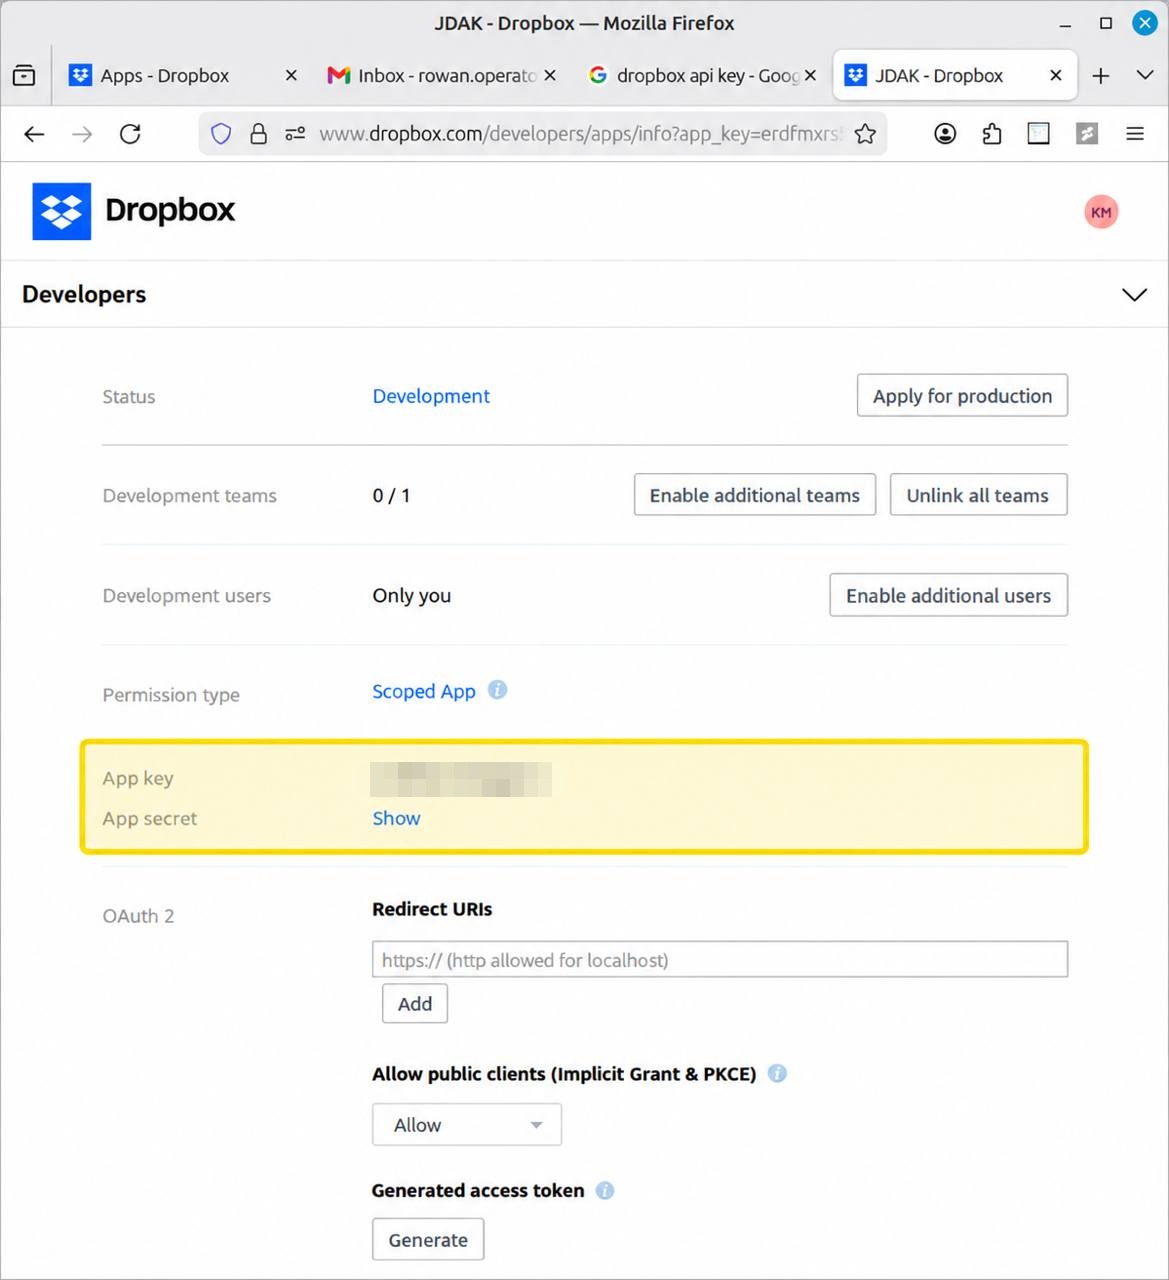
Do this part on a laptop, desktop, or tablet. The App Console renders its credential fields on the desktop layout, and the key and secret aren’t visible on the mobile page.
- Open https://www.dropbox.com/developers/apps and choose Create app.
- Pick Scoped access, then App folder — the narrowest permission that still works.
- Name the app, create it, and open its settings page.
- Copy the App key.
- Click Show next to App secret and copy that too. It’s a password for the app; keep it private.
You don’t need a redirect URI — the plugin runs its own OAuth flow.
Step 4 — Connect the plugin and sync once
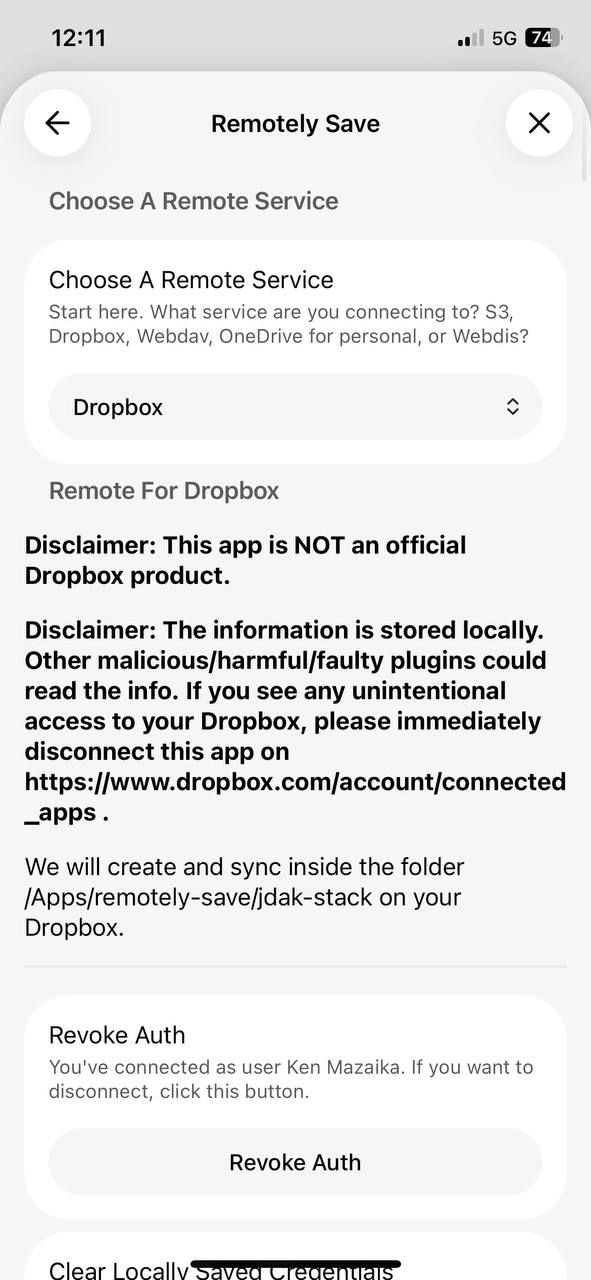
Back on the phone: Settings → Remotely Save, choose Dropbox, paste the app key and secret, and approve the OAuth prompt.
Then run a sync from the command palette — the left sidebar on mobile, Cmd-P on desktop — and search for Remotely Save. Open Dropbox afterwards and confirm both test notes are there. If they aren’t, stop here; nothing downstream will work.
Step 5 — Install Dropbox on the agent’s machine
Now the other end.
Install the normal Dropbox desktop client on the machine that runs your agent, and sign in with the same account. If it’s already installed and syncing, skip this and use what’s there.
You don’t pick a destination for the vault — Remotely Save already chose one. With an app-folder scoped app it writes to Apps/remotely-save/<your vault name> in that Dropbox account, and the desktop client mirrors it down to the same relative path on the agent’s machine, roughly ~/Dropbox/Apps/remotely-save/<your vault name>. Open that folder and you’ll see the two notes you made on the phone.
That is the mirror, and it’s already automatic: the phone writes, Dropbox moves it, the agent’s machine has the files. No extra tooling on either side.
Test it right there, before you build anything:
Read
~/Dropbox/Apps/remotely-save/JDAK Vault/scratch.mdand summarize it.
It works because the agent has filesystem access — no plugin, no API, no integration. That’s the moment the vault stops being a phone app and starts being part of the agent’s world.
Running the agent straight out of the Dropbox folder works, but the Dropbox client owns those files and decides what happens when two copies disagree. For daily work, give the agent its own copy — next step.
Step 6 — Give it a real vault path (two-way sync)
The rig gets its own directory, and rclone bisync reconciles it against the Dropbox copy. First run:
rclone bisync ~/Dropbox/Apps/remotely-save/"JDAK Vault" ~/vault \
  --create-empty-src-dirs \
  --conflict-resolve none \
  --resync
Drop --resync on every run after that, and schedule it:
*/15 * * * * rclone bisync ~/Dropbox/Apps/remotely-save/"JDAK Vault" ~/vault \
  --create-empty-src-dirs --conflict-resolve none >> ~/logs/vault-sync.log 2>&1
Three things make this safe:
--conflict-resolve none— rclone keeps both versions instead of picking by timestamp. The loser is saved next to the winner, not deleted.- A filter file — if your vault has git repos, caches, or large media, exclude them, or bisync will fight over files that change constantly. Mine is note-sized: Markdown, small images, CSV.
- A log you actually read — the first week is where path mistakes show up, and they show up in the log long before they show up in your notes.
Who resolves the conflicts
Mine doesn’t ask me. The sync runs with --conflict-resolve none --conflict-loser num --conflict-suffix sync-conflict, so a conflict lands as note.sync-conflict1 and note.sync-conflict2 — both sides, nothing discarded. Then the agent does a three-way merge against the last synced version of the file:
- Clean merge — the two edits touch different parts. It writes the merged file back to the canonical name, deletes the conflict copies, and says nothing.
- Real conflict — both sides changed the same lines. It writes the merge with
<<<<<<<markers, keeps the raw sides, and tells me which note needs a decision. - One side, or a binary file — it restores the newest to the canonical name and stashes the other for review instead of guessing.
The prompt that makes it do that:
When a vault sync reports a conflict, don’t pick a winner. Read both conflicted copies and the last synced version, merge the two sets of changes, write the result back to the canonical file, and delete the conflict copies. If the changes contradict each other, leave both in the file with
<<<<<<<markers and tell me which note needs a decision.
Without that, “preserve both” just means you are the merge tool. With it, the vault stays clean and I only hear about the ones where the answer isn’t obvious.
Watching instead of polling
The cron is what I’d ship first — fifteen minutes is fine for notes. When you want it to feel immediate, add a watcher that runs the same command on change instead of on a clock:
- Watch both sides. Local edits come from a file-system watch; the other side is whatever Dropbox gives you. Mine polls the Dropbox API on a held cursor every 30 seconds.
- Debounce before firing. Wait for ~20 seconds of quiet, or the sync starts while you’re still typing and immediately runs again.
- Rate-limit it. I enforce a two-minute minimum gap, because a full bisync takes about that long and overlapping runs just fight each other for the lock.
- Run it as a service. A systemd unit with
Restart=always. Otherwise it disappears the day someone closes the terminal it was running in.
Keep the cron anyway. The watcher is the fast path; the cron is what catches the change that landed while the watcher was restarting.
Step 7 — Tell the agent where it lives
Last piece, and it’s one line of configuration. Export the path:
export JDAK_VAULT_ROOT=~/vaultThen tell the agent, in whatever file holds its instructions:
$JDAK_VAULT_ROOTis my Obsidian vault. When I say add something to my Obsidian vault, write it there. When I ask you to load a note, read it from there.
From that point you use the vault through the chat window like any other tool: “put this in my vault,” “pull up the note from Tuesday,” “add a section to the draft.” The agent reads and writes the same files your phone does, and a new session re-reads them instead of asking you to paste anything again.
What you end up with
A folder on your phone, a folder on the rig, and the same Markdown in both — with one variable telling the agent where to look. Your phone is the reader, the agent is the writer, and the vault, not the chat window, is where the work lives.
Once the pipes work, the next question is what travels through them. An inbox system your agent can actually act on is the other half: four folders, a schema, and a script that turns a ticked box into work. The shelves those folders sit on are the vault walkthrough.